In recent years, we’ve heard a lot about the ill effects of prolonged sitting. Articles, blog posts and TV news segments all point to rising pains and diseases thanks to sedentary lifestyles at home (or at school). Sitting for a long time every day promotes imbalances in muscular length and strength. The question for personal trainers and movement-based professionals is how to help correct these imbalances.
Lower Crossed Syndrome Definition
Lower crossed syndrome is one of the most common compensatory patterns. It is characterized by an anterior tilt to the pelvis (arched lower back). It is a side effect of a sedentary lifestyle, often showing up in the lumbo-pelvic-hip complex and also coinciding with an excessive lower-back arch.
Holding this static position constantly can create or contribute to muscle imbalances in the pelvic region. Unfortunately, this uneven pull of muscles has effects beyond the lumbo-pelvic-hip complex, strongly influencing the regions above and below as well.
It’s important to observe the pelvic region because it connects the upper and lower body. As we walk, our pelvis moves forward and back, rotating and tilting as our legs swing with every step. The shoulders and arms swing opposite the legs. This counter-rotation makes the lower back and hips crucial to the integrity of the body overall. If the pelvic region muscles get out of sync, a chain of events ensues that can eventually lead to injury.
Lower Crossed Syndrome Symptoms
Prolonged sitting produces a pattern of over- and underactive muscles in both the front and the back of the hip region. “Crossed” refers to the crossing pattern of the overactive muscles (and possibly tight and shortened) with the countercrossing of the underactive (and possibly lengthened and weak) muscles.
This general statement explains potential contributions to this postural characteristic. You’ll need to do additional assessments to specifically determine what’s causing an individual client’s posture problems.
Key Muscle Groups
The overactive, shortened and tight muscles include (but are not limited to) the
- hip flexor complex (psoas, rectus femoris, tensor fascia latae)
- adductor complex
- latissimus dorsi
- erector spinae
- gastrocnemius
- soleus
Conversely, underactive, lengthened, and weak muscles include (but are not limited to) the following:
- gluteus maximus
- gluteus medius
- transversus abdominus
- internal oblique
- anterior tibialis
- posterior tibialis
From a side view of the body, you can see that the back-side latissimus dorsi and erector spinae (overactive) are above the gluteus maximus, medius (underactive). Meanwhile the front side has the transversus abdominus and internal oblique (underactive) above the hip flexor complex (overactive). This pattern of pulling the overactive muscles promotes and exacerbates lower-back arch, while the weakened and lengthened muscles allow it to happen.
Sedentary Consequences
In an age where careers, communication and recreation depend on stationary and handheld digital technology, people are likely to sit more and exercise less compared to past decades.
This increasingly sedentary lifestyle means two things: the weak muscles will continue to get weaker while the short muscles get shorter and tighter. As this imbalance persists, it will increase joint malalignments and movement dysfunction while decreasing joint range of motion—increasing the likelihood of pain and injury.
We see this in the low back and pelvic region when somebody’s posture shows an excessive low back arch with an excessive forward or anterior tilt of the pelvis. This can lead to low back pain more often than not.
Pain and discomfort from this posture go beyond the lower back, promoting stress and strain to the knees and hamstrings. This happens because of the femur’s connection via the hip flexor complex, gluteal complex and adductor complex.
Overactive muscles cause unequal, unbalanced lines of pull, forcing joints and adjacent muscles like the hamstrings to work harder to stabilize and counter these unintended forces.
Read more: how Lower Crossed Syndrome can affect your diaphragm function.
Identifying LCS Posture
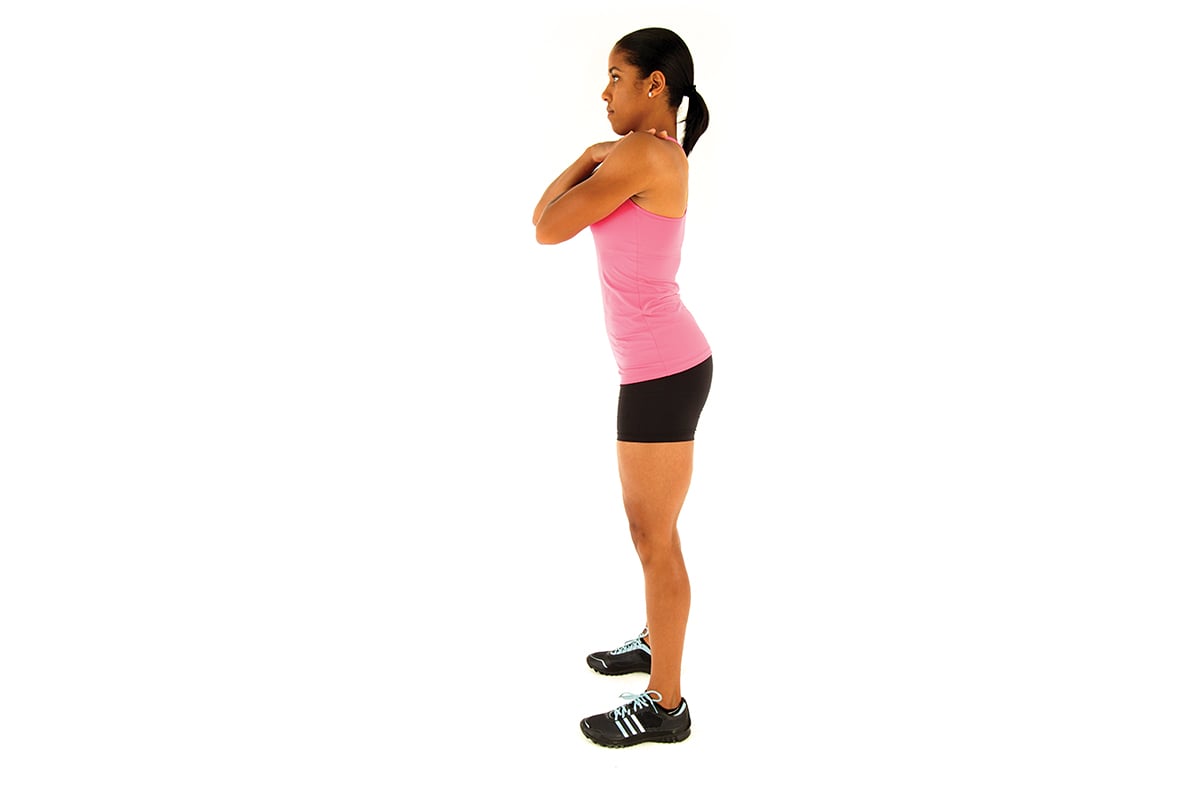
There are multiple ways to identify the LCS posture. These methods can include static posture, where the client shows excessive lower-back arch and an anterior-tilted pelvic position. You can also use dynamic assessments like the overhead squat, single leg squat, or push or pull assessment.
The key is to take a side view that reveals the position of the lumbar spine and pelvis. However, the anterior tilt may require a more closely monitored palpation technique (always get your client’s permission before touching), where you identify the location of the anterior superior iliac spine and compare it to the position of the posterior superior iliac spine to see if there is an excessive tilt. This technique requires training in bony-landmark identification.
LOWER CROSSED SYNDROME: ASSESSMENTS AND OBSERVED RESULTs
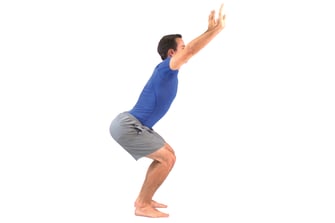
Overhead Squat
- observed increased lower-back arch as arms raise during assessment setup
- lower-back arch increases as client descends during squat
- excessive forward lean during descent
Single-Leg Squat
- observed trunk rotation and forward lean during squat
- knee valgus
Pushup Assessment
- observable increase in lower-back arch
- hip dropping to the floor
POSSIBLE CORRECTIVE STRATEGY
Addressing LCS requires an exercise strategy that addresses the muscle imbalances. This must happen before committing to a strength- or power-based exercise program. Until the client can attain—and maintain—a more neutral spine with dynamic postural control, increasing external loads and speeds will only enhance muscle imbalances and increase stress on the joints and surrounding tissue. The better start is to use the 4-step NASM Corrective Exercise Continuum (CEx):
Step 1:
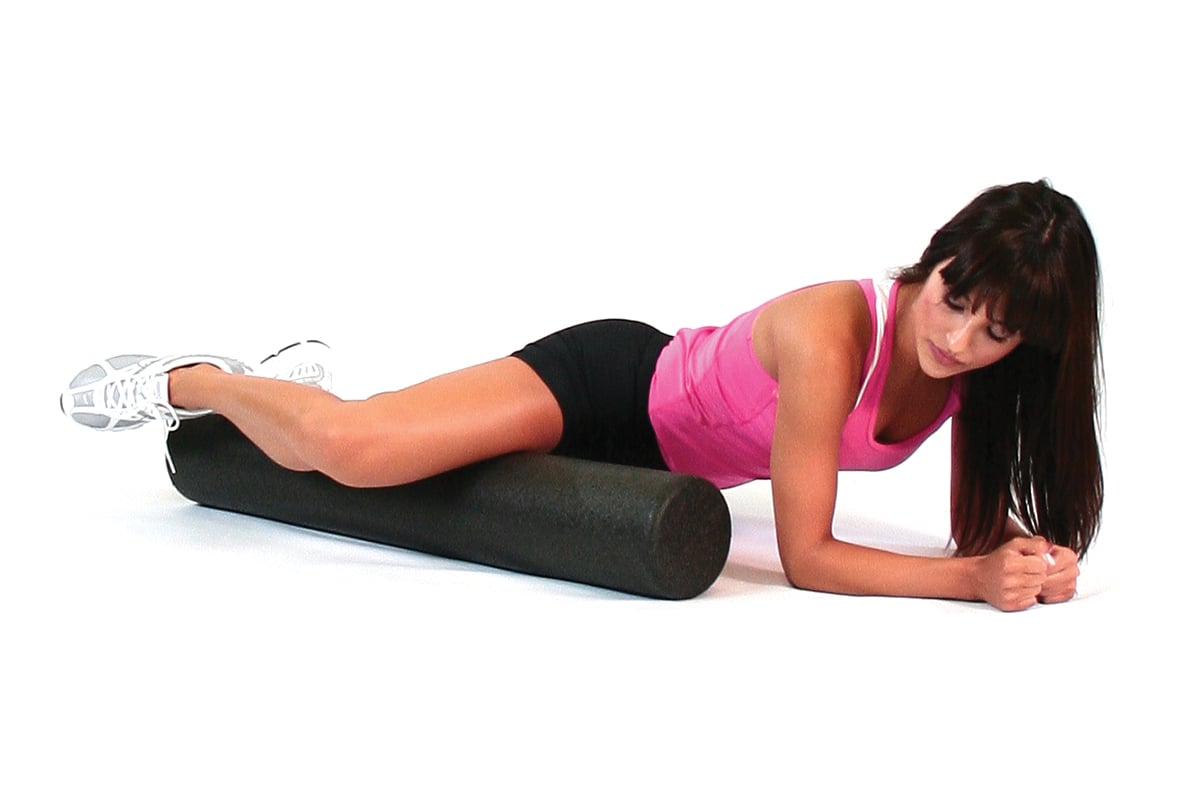
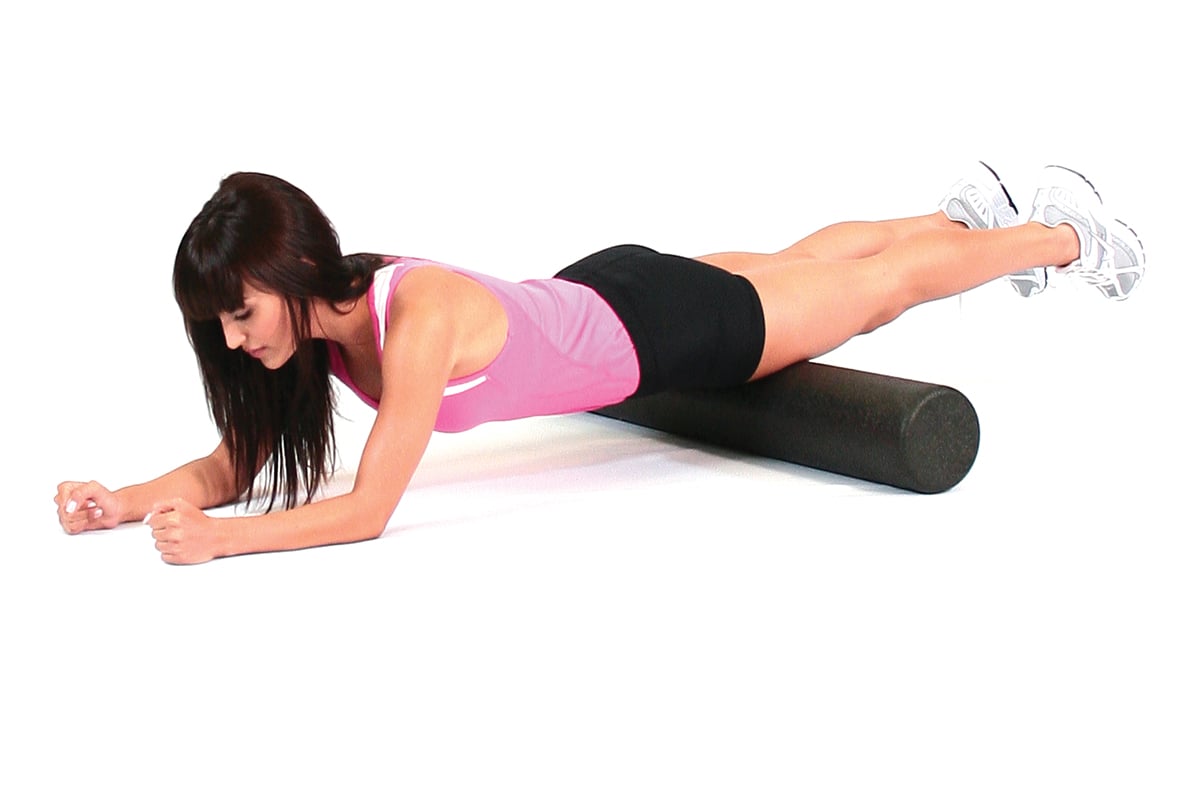
Inhibit/Self-Myofascial Release
SMR techniques involve the use of equipment such as a foam roller or lacrosse ball. This can neurologically decrease activity to the overactive muscle, making it easier to recruit the opposing muscle groups.
Technique: Using a foam roller or similar device, slowly roll over region looking for tender areas. Once you find a tender spot, hold position for about 30 seconds (until about 50% decrease in tension).
1a: Adductor Complex (inner thigh)
1b: Rectus Femoris (quads)
Step 2:
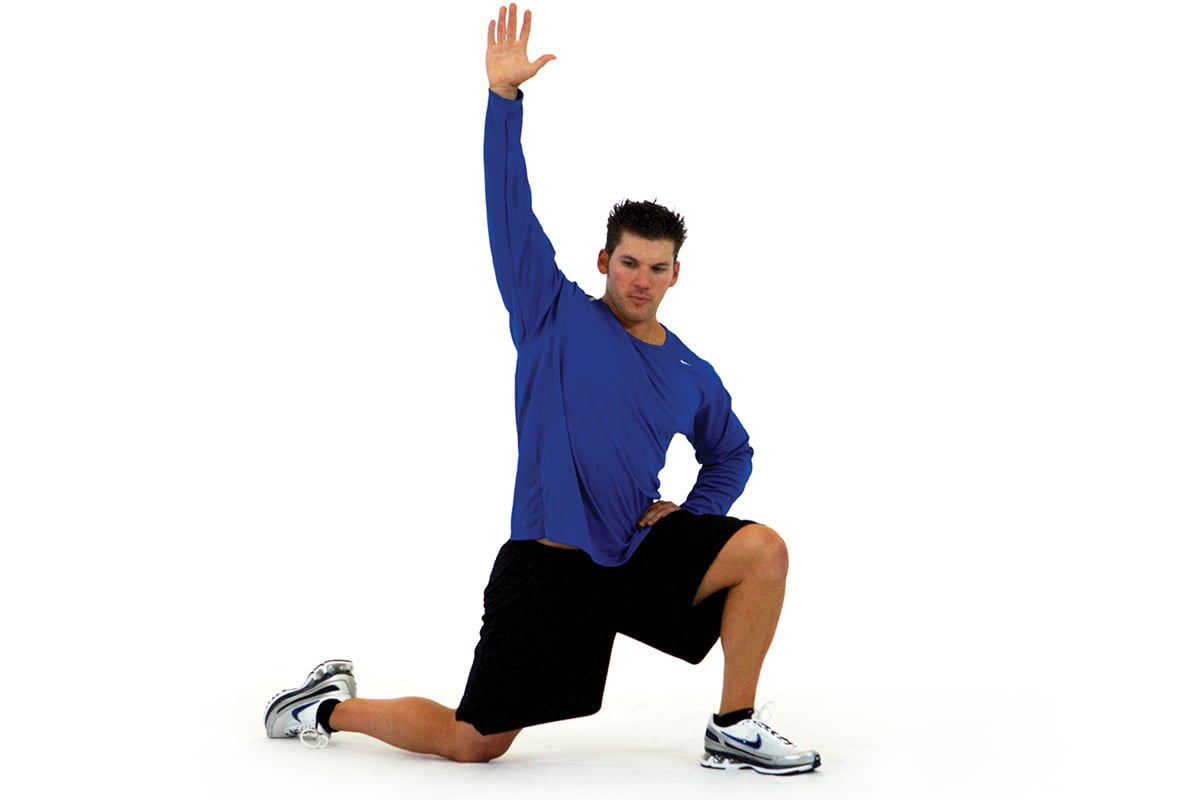
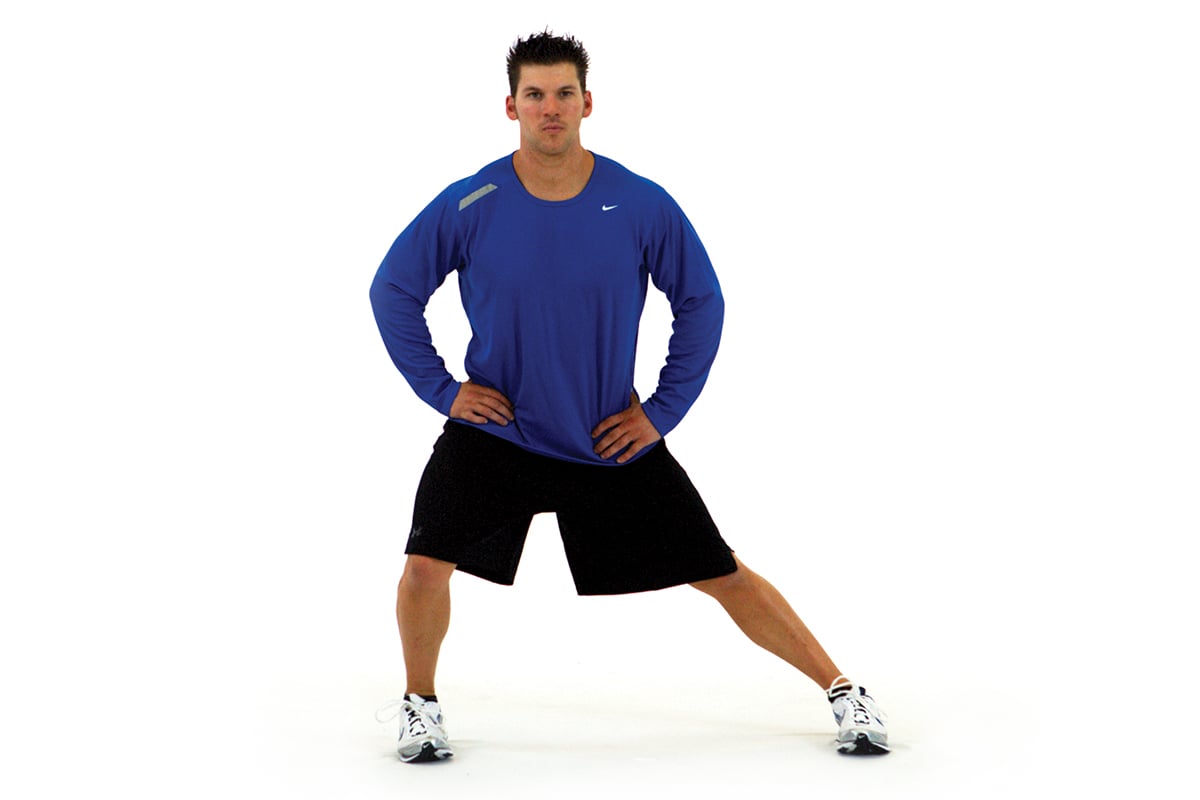
Lengthen/Static Stretching.
Static stretching complements foam rolling by enabling the lengthening of muscle that has been inhibited or relaxed through SMR techniques.
Technique: Get into and hold stretch position for approximately 30 seconds.
2a: Standing Adductor Stretch
2b: Kneeling Hip Flexor Stretch
Step 3:
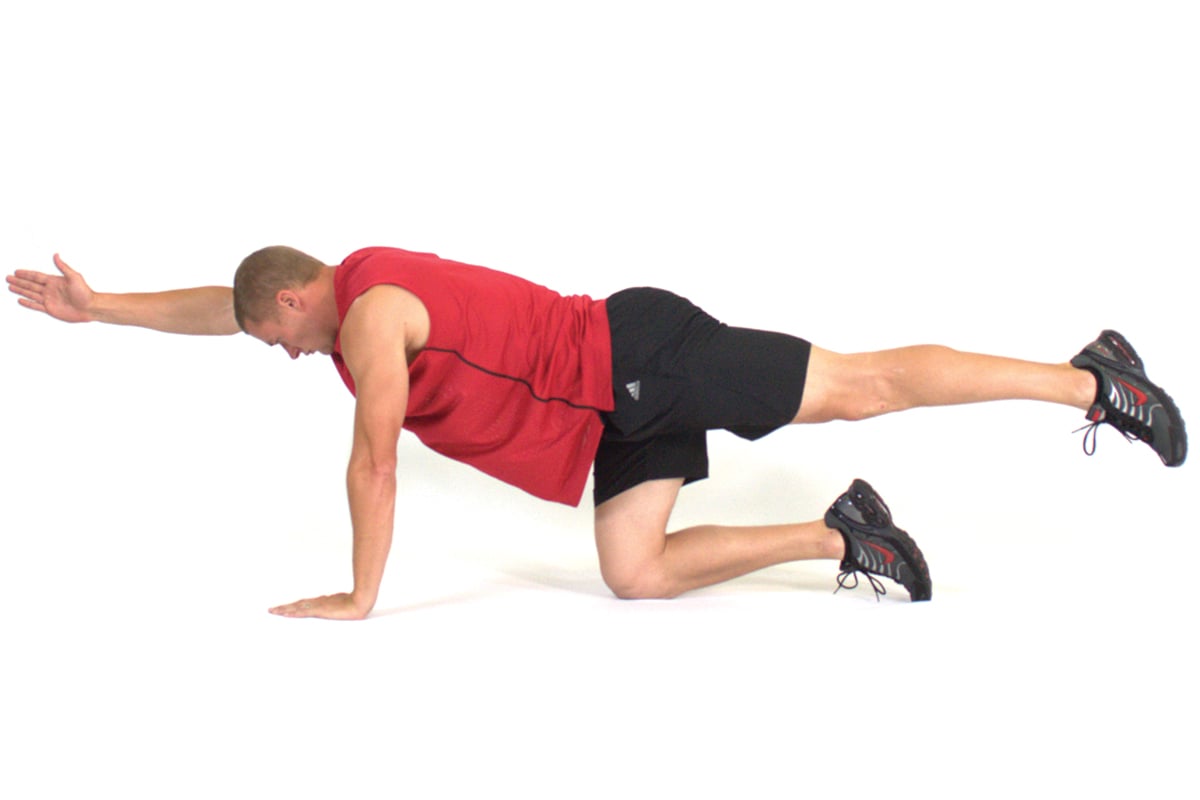
Activate/Strengthen
Strengthening exercises can now be implemented to increase strength and activity in the muscles that have not been working hard enough to counter the previously overactive muscles.
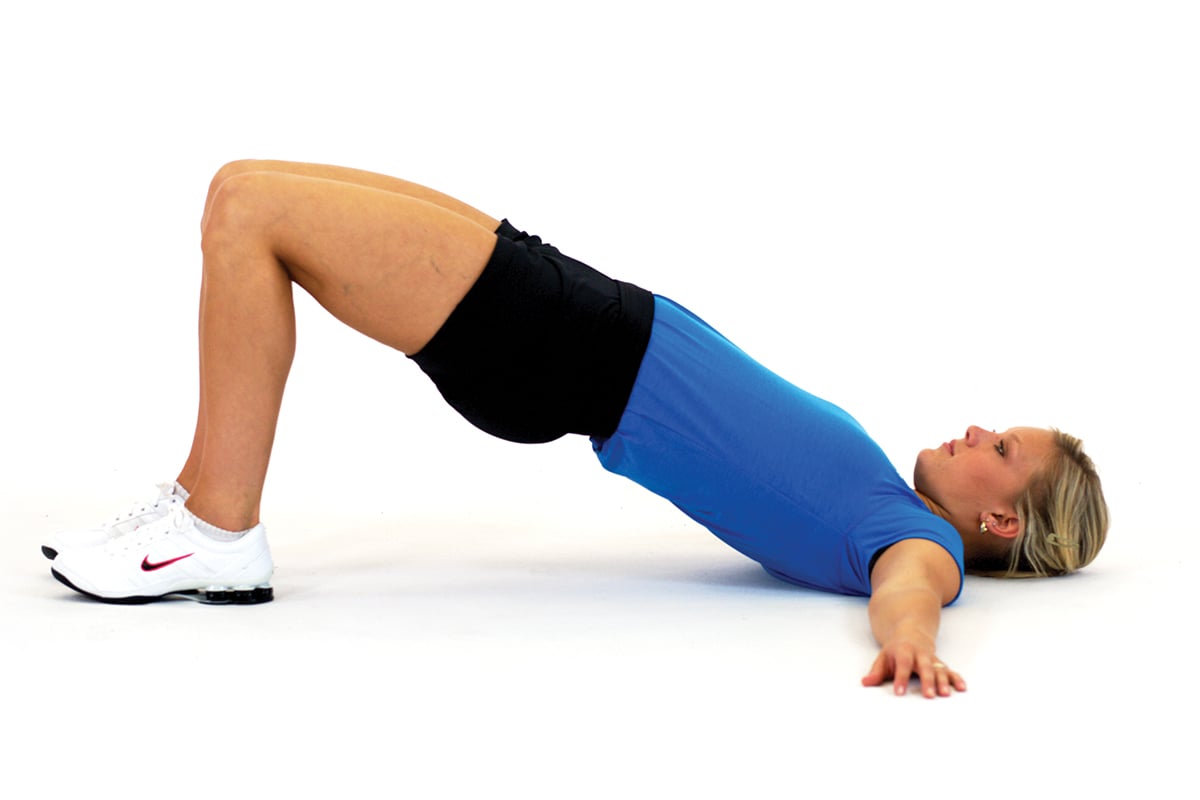
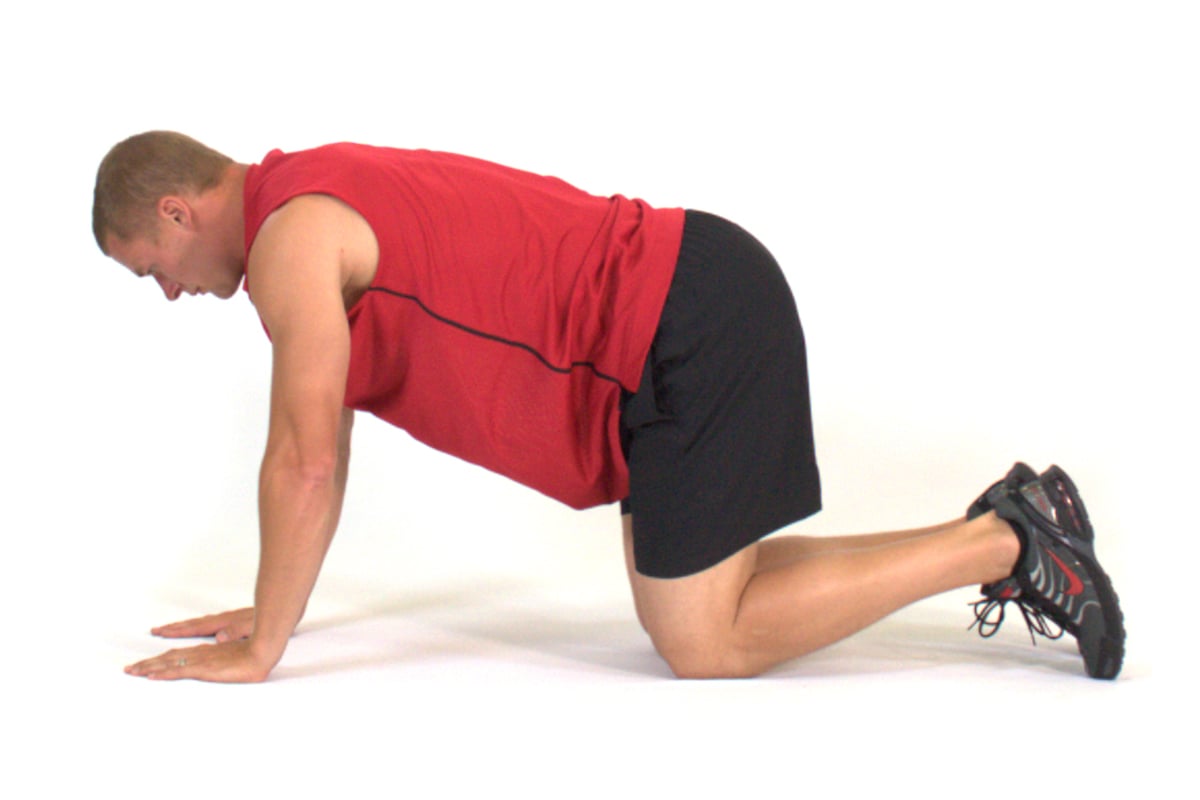
Technique: Perform strengthening exercise with little to no external resistance with slow tempos, emphasizing the eccentric contraction or lengthening portion of the movement. Hold for 2 seconds, 10–15 reps, 1–2 sets.
3a: Floor Bridge
 3b: Quadruped Hip Extension
Step 4:
Integrate
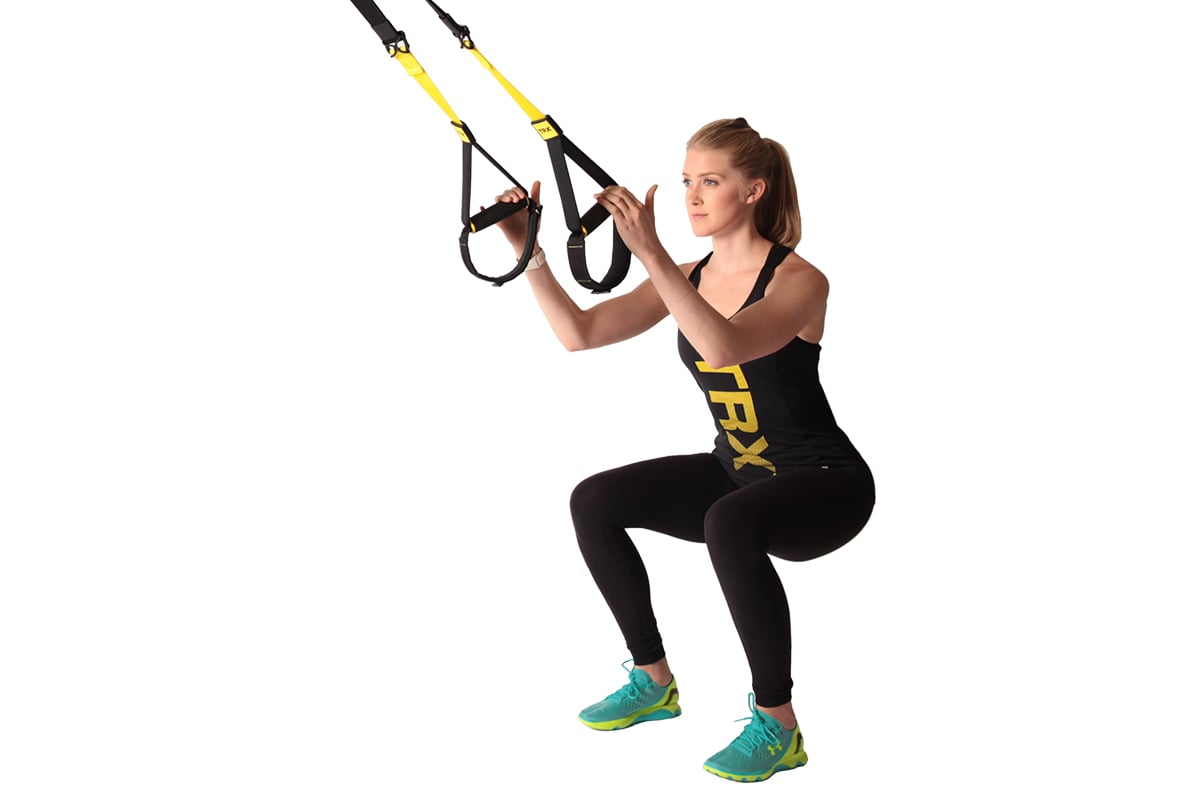
Integrated movement patterns coordinate how the brain chooses to use the muscles of the lower back and pelvic region. Without this, there is no calibration of the use of glutes relative to the hip flexors and the erector spinae.
Technique: Use a multi-joint motion with slow, controlled tempo. Do 10–15 reps, 1–2 sets.
4a: Assisted Squat
Advice on Program Design
Fitness professionals must take care when designing programs. Clients have to be observed as the individuals that they are. Their specific movement patterns need to be respected and addressed appropriately. That way the client’s body can have more strength and integrity because the weak points were taken care of first.
Corrective strategies—especially when targeting the lumbo-pelvic-hip complex—may inadvertently “correct” dysfunction in other areas of the body as well. In a society where we move and exercise less than ever, it is that much more important to restore efficiency first and enhance performance second.

