As the saying goes, “if you are not assessing, you’re guessing.” Assessments provide personal trainers with an array of valuable information about each client.
This information includes objective data, such as heart rate and blood pressure, along with subjective data such as previous injury history. This is vital for determining the current state of readiness and the starting point for the client after initial fitness consultations.
Within this article we will explore the following six components of an effective movement assessment:
- Client Intake
- Static Postural Assessment
- Overhead Squat Assessment - Heels Elevated & Hands-on-Hip Modifications
- Single-Leg and Split-Leg Assessment
- Loaded Assessments
- Dynamic Assessments
Before we jump in though, let’s review some important aspects of the movement assessment process.
The Movement Assessment Process
One of the most crucial pieces of information needed before designing a comprehensive program is to know how well they move. While I was conducting my doctoral research, I found that many trainers did not use the information obtained from corrective exercise movement assessments.
They would conduct assessments and have all this great information yet default back to what they knew best, even if it was not in the best interest of the client. This is the classic case of “analysis paralysis,” or having so much information that someone is incapable of making a decision.
Finding a Flow With Your Assessment
Movement assessments should follow a process or flow. This flow, first and foremost, should work to obtain the most usable amount of information possible, in the shortest amount of time, with minimal risk. The last part is essential in that just because we can obtain great details from a single-leg jump, does not mean we should use it on every client.
A movement assessment flow or process should also be easy for the fit pro to conduct. It should follow a logical order, and we should use the information from one test to inform the next test.
Consider How Your Clients Feel
Further, as a personal trainer progresses through the assessments, they must consider how the client feels emotionally. If a client struggled on two legs, their performance on a single leg might make them feel as though they just "are not cut out for exercise."
This is not the intent of a movement assessment, and frankly, it is the last thing we ever want a client to think. So, use movement assessments, and use them often, but use them intelligently.
Movement Assessment Results Will Vary
The following is intended to be a starting point for developing a personalized movement assessment flow. What is presented here is based on logic and years of experience, but your specific testing flow may vary based on your environment, your client, and your training.
This guide is not intended to be an in-depth analysis of each movement assessment, but a progression through a series of tests. Remember, only you can decide whether your client is a candidate for any single test.
1. Client Intake
Before we perform any assessments or movement tests, the personal trainer should interview the client to find out their goals and objectives. This is important because if a client’s primary goal is to get up off the couch and take a short walk every day, there may be no need to subject them to advanced testing.
Client intake also includes the completion of the Physical Activity Readiness Questionnaire (PAR-Q), which will uncover any medical conditions or any other reason why exercise should not be performed. If all is clear, then move to step 2.
2. Static Postural Assessment
The Static Postural Assessment is a snapshot of posture without movement. Here, the fit pro will observe the five kinetic chain checkpoints (KCC), which include the foot and ankle, knee, LPHC, shoulders and thoracic spine, and head and neck. The fit pro should compare this to what is considered “ideal” posture (i.e., everything in alignment).
In some cases, say, severe forward rounding of the shoulders, this may be the last step before programming begins. By critically observing someone’s static posture, we can have an excellent idea of muscles that need flexibility and muscles that need strengthening. If the fit pro feels the client can complete movement assessments, then move to step 3.
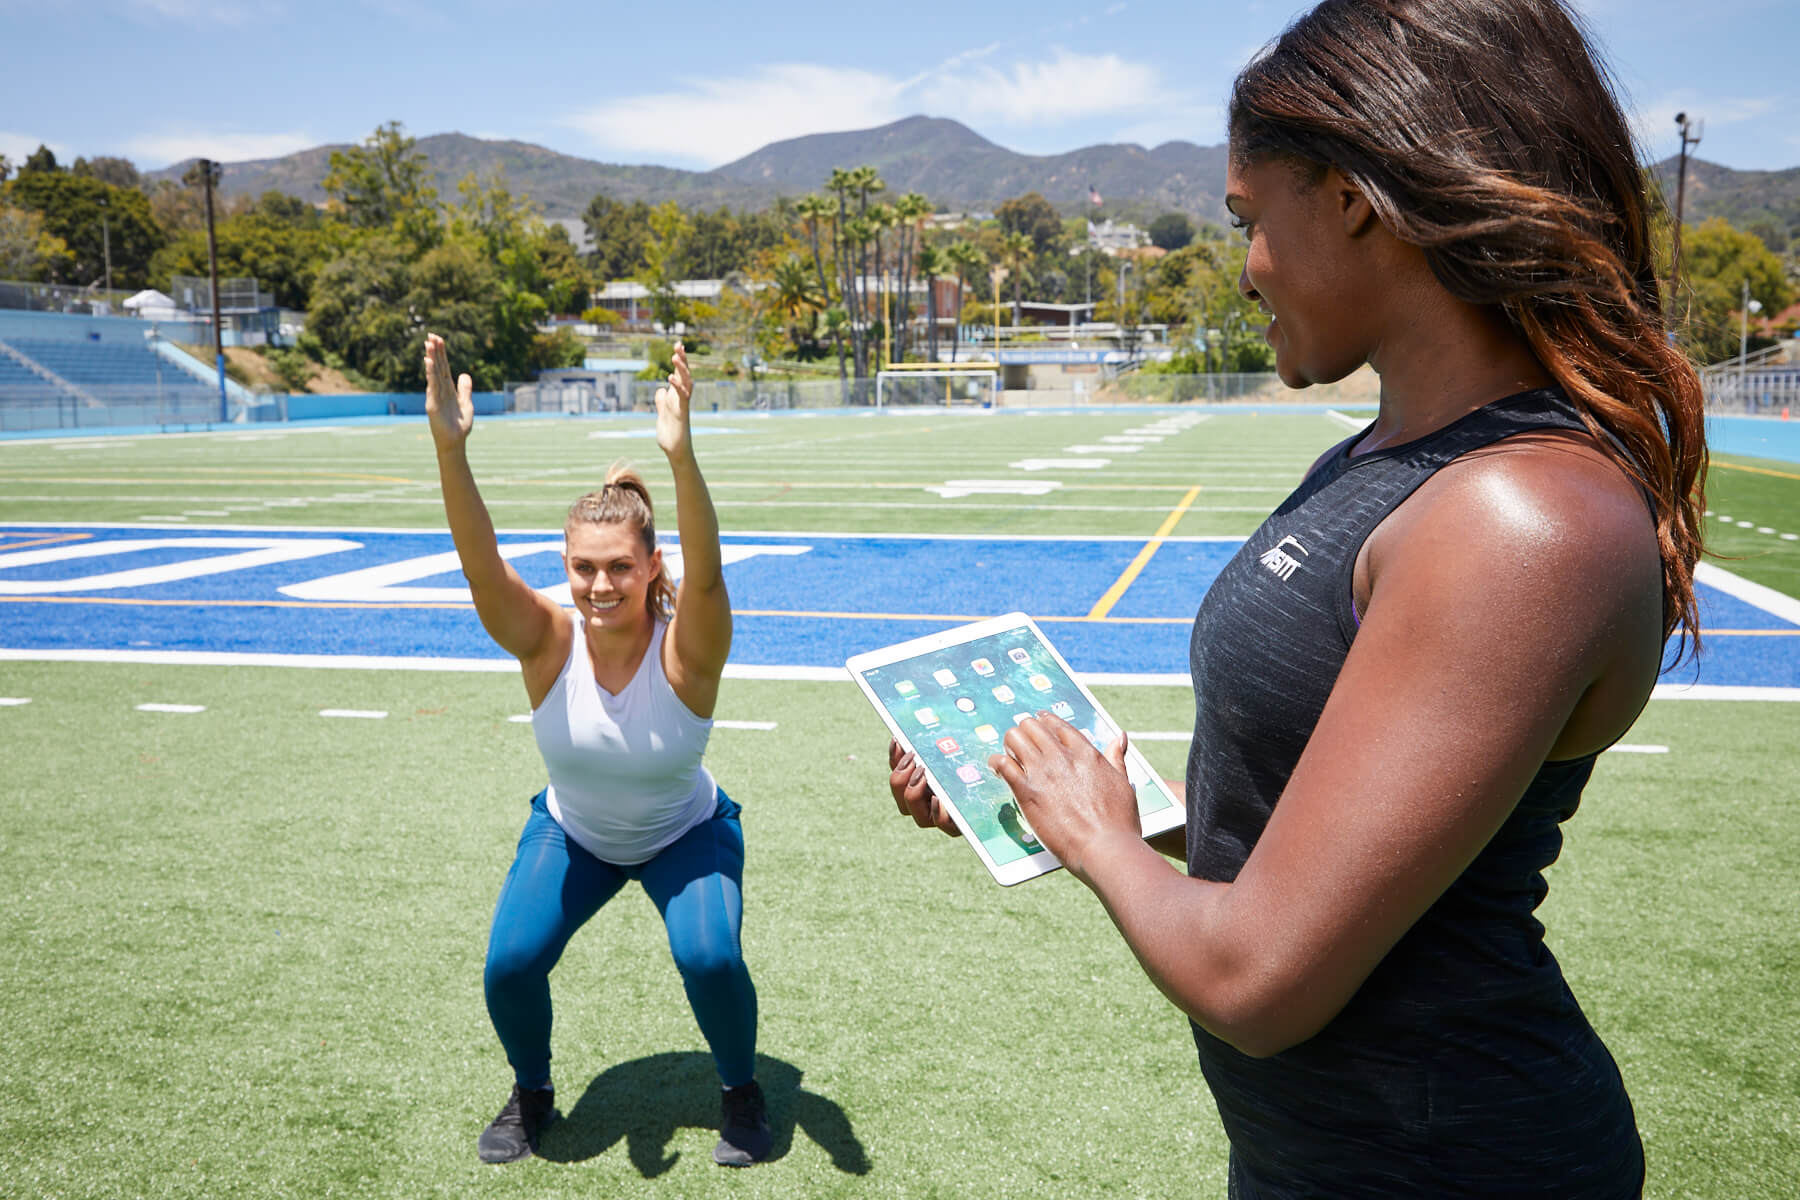
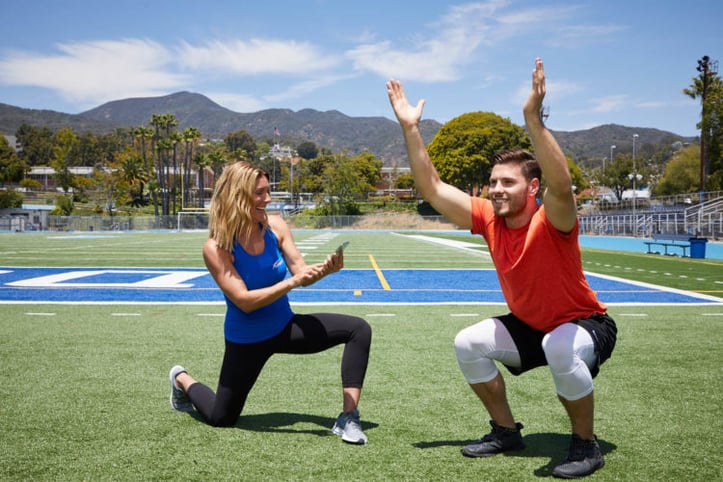
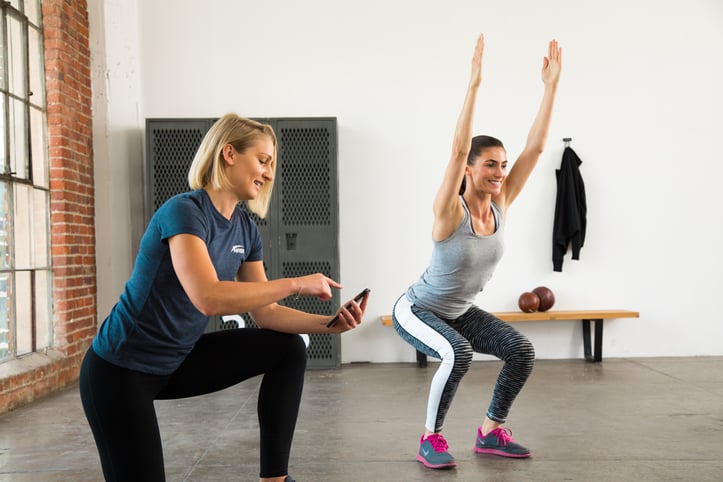
3. Overhead Squat Assessment (OHSA)
The OHSA is our first real look at movement. It shows how well the client can control their movement, their average range of motion, stability, and coordination. If a client cannot squat, it may not be an indication that they are a musculoskeletal wreck waiting to happen.
Instead, the apparent lack of ability may be a lack of understanding. So, if a client that you feel is somewhat capable is not performing well, give them a tip such as “pretend you are sitting in a chair” or “great job on that first one, now see if you can keep your feet a little straighter.”
Further, you may even give them an actual chair to sit on. By making the assessment, something they do every day will provide a clear view of this movement pattern. Also, just because someone compensates, does not mean they are a terrible person.
The trainer does not need to tell them how well or poorly they performed. Just take the notes, and make sure to apply the results to the programming.
Next, if the client demonstrates compensations of feet turn out/feet flatten, knee valgus, or excessive forward lean, move to the heels elevated modification – 3 (a). If the client demonstrates compensation of anterior pelvic tilt (APT), then move the hands-on-hips modification – 3 (b).
3 (a). Heels Elevated Modification
The fit pro will elevate the clients' heels and repeat the squat. Raising the heels reduces the amount of dorsiflexion needed to squat, and thus removes the ankle from the equation.
If the client can now perform the squat compensation free, then the fit pro has identified the foot/ankle complex as the root cause. In this case, the personal trainer can either move on to foot/ankle mobility testing or can feel confident that a foam rolling and stretching program for the calf complex will be a great start in cleaning up the clients' movement patterns. If elevating the heels does not clean up the squat, then something at the LPHC may be the cause.
3 (b). Hands-on Hips Modification
The fit pro will have the client place their hands on their hips and re-attempt the squat. This modification removes the latissimus dorsi from the equation.
If the APT improves, then the lats are likely the root causes, and the fit pro should either move forward with shoulder mobility testing or feel confident that rolling and stretching the lats will improve the pattern. If placing the hands on the hips does not improve the APT, then something specific to the hip complex may be the root cause of the compensation.
In many cases, the movement assessment process may end here. If the client demonstrated compensations and the fit pro has enough information to design a program that will improve the pattern and help the client reach their goals, then no additional testing is necessary.
However, if no compensations are present in the OHSA or if the fit pro believes the client can handle more advanced testing and the additional information is warranted, then proceed to step 4.
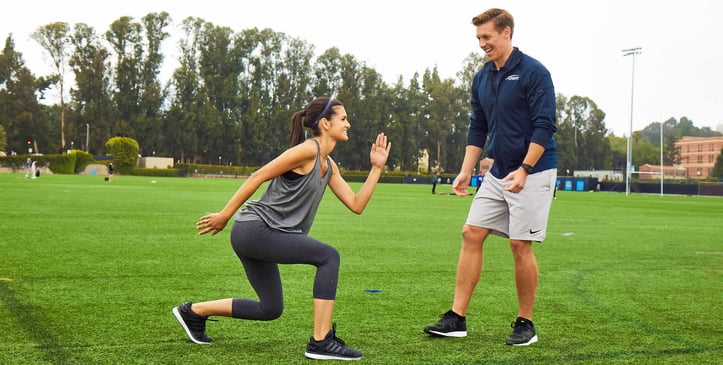
4. Single-Leg Squat Assessment (SLSA) or Split Squat Assessment (SSA)
Give the client two options based on ability. If capable (i.e., the fit pro has reason to believe the client can safely attempt a single-leg squat), then have the client perform the SLSA. However, if not capable (i.e., the fit pro has reason to believe the client will not be safe in a single-leg attempt), then have the client perform the SSA.
The SSA is viewed just like the SLSA, from the front and primarily exploring knee and pelvic stability. During the SSA, instruct the client to keep a toe on the ground for additional support. The trainer needs to note which the client uses so the re-assessment will be valid.
Depending on the client and their goals, a personal trainer may end assessments here and move to training sessions. These 4–6 (including modifications) assessments will provide sufficient information on overall movement ability and indicate which muscles may be a little short and which may be a little weak.
However, if the fit pro believes more advanced movement assessments will yield additional usable information, then they should move on to the “optional” Loaded Assessment (step 5) and/or the Dynamic Assessments (step 6).
5. Loaded Assessments
Loaded assessments are just what the name implies: a loaded movement that the fit pro uses as part of the assessment. However, there is a catch – the client should think that this is part of the actual workout versus continued assessments!
For Loaded Assessments, the fit pro should design a program that observes the primary movement patterns, such as push, pull, hinge, squat, and lunge. The personal trainer should not use a significant amount of weight on each. Choose a reasonable weight and observe how the client handles it.
Watch for any breaks in form, inconsistent tempos, or the inability to have controlled breath during the movements. One thing to consider is that if a client does well when not loaded but then form breaks while loaded, it may be due to a stability or strength issue versus short and overactive muscles.
6. Dynamic Assessments
Use Dynamic Assessments for clients with higher levels of control, coordination, and stability and those with performance-related goals. While there are many dynamic assessments to choose from, NASM recommends at least one for lower- and one for the upper-extremities.
For lower extremity, the Depth Jump Assessment is easy to perform and yields sufficient data for programming. For the upper extremity, we recommend the Davies Test as it, again, is easy to perform and provides excellent insight into the clients' ability to stabilize and control the upper body.
Movement assessments provide a wide range of data that is required to build an individualized program. However, given the array of available movement assessments, it may be challenging to know when and why to perform a test.
As was stated, all fit pros need to find what works best for them, given their environment and specific clientele. However, make sure all tests are purposeful and never "go through the motions." If the data obtained is not going to inform the programming, then do not waste the client's time.
Movement Assessments Recap: The 6 Steps Reviewed
There was a lot of information covered here, so let’s quickly recap the steps in order.
- Start by interviewing your clients and doing a standard physical activity readiness questionnaire to assess overall movements from a purely preliminary standpoint.
- Move on to a Static Postural Assessment by observing the 5 kinetic checkpoints (KCC) - which include the foot and ankle, knee, LPHC, shoulders and thoracic spine, and head and neck.
- The Overhead Squat Assessment is the first overall look at any client movement. This assessment, with heels elevated and hands-on-hip modifications, can serve as useful windows into the client’s overall movement health.
- Single-Leg and Split-Squat assessments come next. Depending on the ability of the client, you can end the assessment here and still have sufficient client movement knowledge.
- Loaded Assessments are more advanced and require assessing movements when the client has weights. Breakdown in form and the introduction movement compensations might be a lack of strength and coordination instead of overactive or underactive muscles.
- Dynamic Assessments are also for more advanced movement analysis and are more geared towards performance-related fitness metrics.
Now it’s your turn! If you have questions, thoughts, or positive results from applying these your clients’ movement assessments, let us know below.
For other helpful charts and templates on movement assessments, look to this resource page.
Also, be sure to check out these blog posts:


